
Posted on December 02 2021

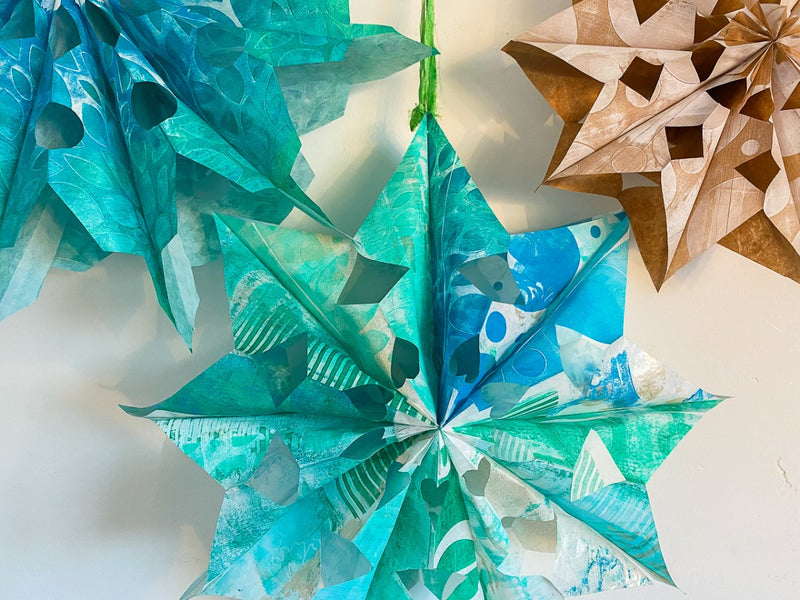
Gelli Arts® Gel Printing Paper Bag Stars by Marsha Valk
Hi there! It’s Marsha here today!
December is here, and I’m in the mood for creating some DIY holiday decorations.
Paper bag stars are fun, quick and easy to create, they make a big impact, however, do not break the bank.
They can easily be adapted to fit your personal holiday colour scheme and decor with the help of the Gelli Arts® gel printing plate!
You’ll need 9 to 12 paper bags per star.

Pull prints on one side of each bag and then leave the bags to dry before you start gel printing on the other sides of the bags.
You can cover each bag with the same pattern, or you can create a patchwork of prints on each bag. Both will give beautiful results! 
Once you have all the bags printed on both sides, you can glue them together to form the star.
Apply the glue in a T-shape: one stroke across the bottom and one down the middle of the bag.
Place the next paper bag on top and repeat until all bags are glued together. 
Glue the first and last bag together using temporary adhesive if you want to keep the star afterwards. That way, you can refold it and store it away until next year.
Punch a hole at the top and pull some nylon thread, string or ribbon through it. 
Enjoy your Gelli Arts® gel printed holiday decor!
Marsha. 
MATERIALS:
- Gelli Arts® Printing Plate
- 4” Roller
- Gelli Arts® Stencils
- Gelli Arts® Mini Printing Tool
- Parchment Paper
- Acrylic paint
- Paper bags (9-12 per star)
- Glue Stick
- Scissors
- Hole Punch
- Temporary adhesive
- Ribbon (Saris de Sara by Sara Ferret), nylon thread or string
0 comments