
Posted on February 25 2022


9 Must-Know Tips for Making the Most of Food Colouring
Shared from Craftsy website
By
If working with food colouring confuses you, we’re here to help! Our quick tips and advice for working with all kinds of food colouring will take your cakes to a whole new level of colour.
9 quick tips for working with food colouring
1. Always start small
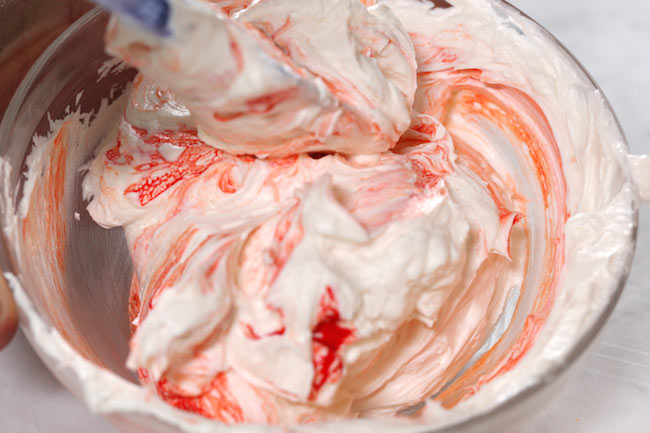
Always begin mixing your food colouring in small amounts, building the colour up over time. It’s oh so much easier to add colour in than to remove it in case you go too bright or too dark. It takes more time, but it’ll be a heck of a lot quicker and easier than starting all over again.
2. Colour develops over time
Food colour develops and gets darker over time. This is essential to know, especially when tinting fondant red or black. Instead of adding in more and more colouring, let your fondant (or buttercream or royal icing) sit for 10 to 15 minutes and check to see how much it has darkened.
For matching food-coloured items to specific palettes, it helps to stop a shade or two before you need to. Leave your work to sit for a few minutes and then check the colour.
3. There’s a difference between powdered, natural, liquid and gel colours
There are different types of food colour on the market, so it helps to know which works best for you and for your project. Check out our quick guide below:
Powdered colouring
Powdered colourings can be slightly hard to find — they’re not going to be in the baking aisle of your local grocery store or even craft shop. You’ll have more luck online — Craftsy has a good selection.
The list of colours available as powder can be limiting, which means you’ll need to adjust and mix them up yourself. Also, adding too much powder into your mix (be it batter, cookie dough or fondant) can dry out your consistency.
Natural colouring
These plant-based colourings are great for anyone who wants to avoid synthetic colourants. They do, however, yield some pretty dull results. If your aim is to create a rainbow layer cake, don’t use natural colouring — you’re just not going to get the vibrant, fun results you want. Natural colours can also be harder to find. Try an online search or a specialty health food shop.
Gel or paste colouring
These colourings contain glycerine and/or corn syrup, which gives them a thicker, gel-like consistency. For us, gel colourings are a great option when adding colour to batters. They’re vibrant, readily available and they don’t affect the consistency of your mixture. They’re also pretty concentrated, so they’re perfect for vibrant creations.
Liquid colouring
Liquid food dyes come in miniature bottles. They can be very watery in consistency, which can really thin out your batter, dough or icing. We generally advise that cake decorators stay away from these, as they can compromise your batter and result in a sinking cake or even in a mix that doesn’t rise.
Liquid gel colouring
Liquid gel colourants are similar in consistency to runny honey. They’re a bit like a cross between liquid food dyes and gel/paste colouring. You’ll usually find them packaged in a squeeze tube or flip-cap bottle. We use food colouring in this form the most!
4. You can add colour without food colouring
If you want to add colour to your homemade bakes without using any food colouring at all (even store-bought natural colours) there are a few ways you can do this.
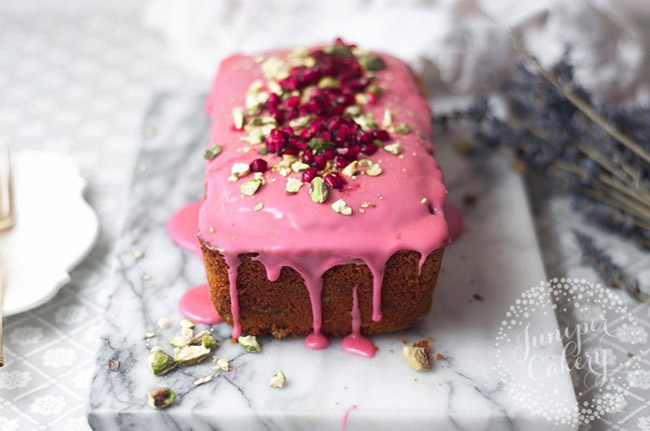
Pomegranate juice
Fresh pomegranate juice, straight from the fruit, can create a vibrant to pastel pink. It’s perfect in sugary glazes for loaf cakes or doughnuts (just like our carrot, pomegranate and pistachio loaf above).
Beets
It’s possible to add the red in red velvet cakes using grated beets (or beetroot in the U.K.).
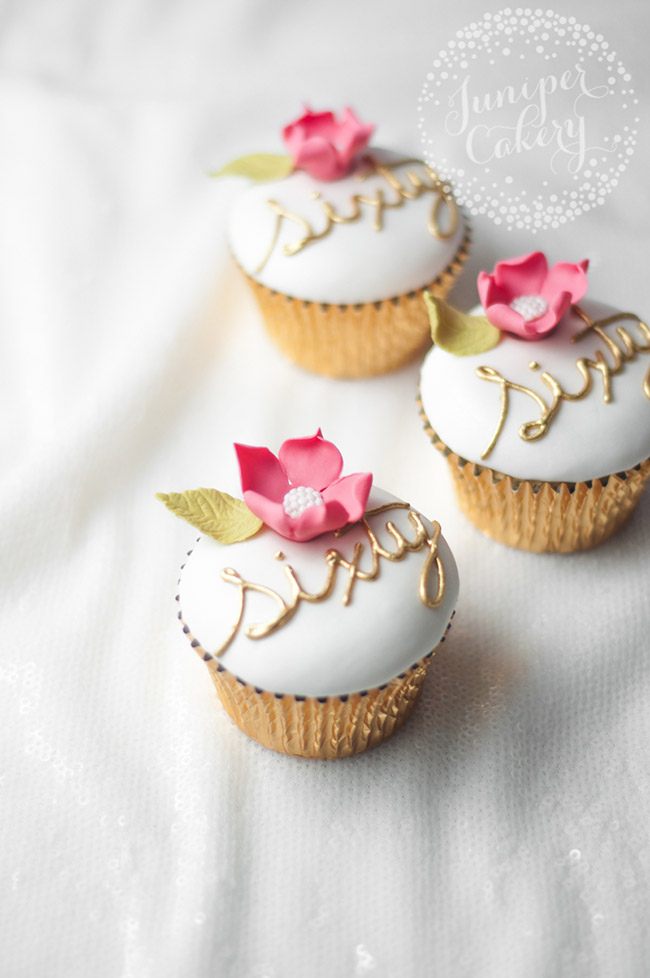
Edible petals
Bright, edible petals are great for adding pops of colour on top of frosted cupcakes and cakes.
5. Use natural light
Always colour by natural lighting to get an accurate view of the colours you’re creating. A lot of artificial lighting gives off a dull, yellowish glow that can make colours look totally off. Imagine colouring green for a specific order and in daylight it’s actually a more blue toned colour — not good!
6. Learn simple formulas for quick colour mixes
When it comes to decorating cakes, you’ll regularly need to create custom tints for fondants or buttercreams. If you don’t have every colour on hand, it’s helpful to know what colours to mix together to form another colour. Here’s a quick colour-mixing guide to help!
- Purple – Add equal amounts of red and blue together.
- Brown – Mix equal amounts of red, blue and yellow (purple and yellow).
- Green – Add equal amounts of blue and yellow.
- Pink – If you don’t have pink food colouring, use a small amount of red.
- Orange – Mix red and yellow together.
- Mint – First create a soft green, then add a tiny amount of sky or baby blue.
- Sepia – Always begin with a soft, cream colour and then add the colour you need.
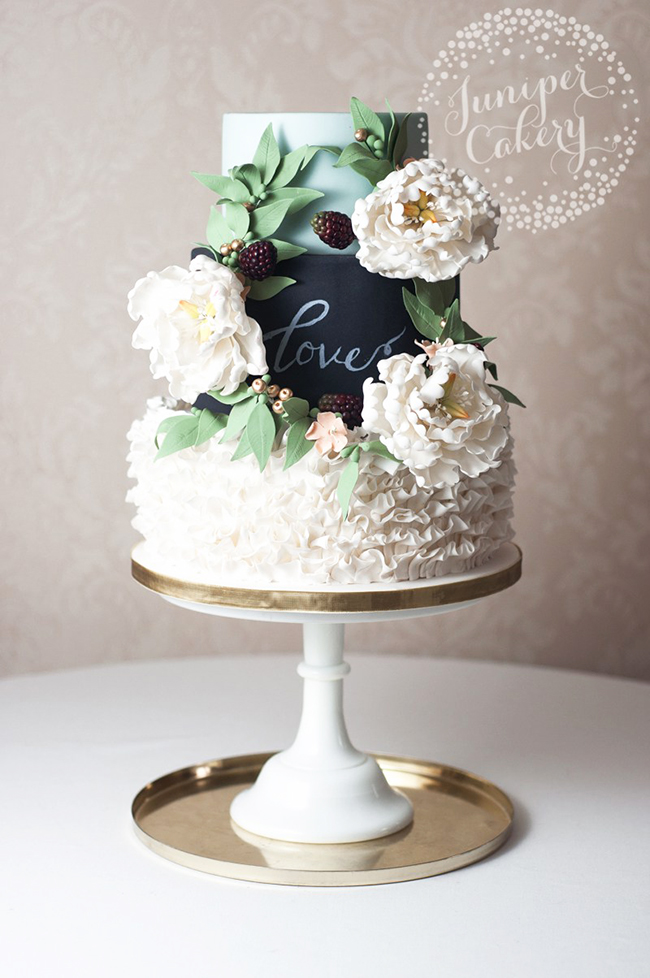
7. Make it metallic!
Making a good metallic finish isn’t as simple as tinting fondant, buttercream or royal icing. You’ll have to paint or dust your work. We like to colour whatever medium we’re working with to a close matte-like match (caramel for gold, gray for silver) and then carefully hand-paint with edible dusts and paints. Read more about this technique in this blog post.
8. Master the mixing technique
Mixing in food colouring doesn’t necessarily mean just stirring it in your batter. The technique you use depends on how you like to work and what material you’re using.
Fondant or gum paste
We like to fold colour into fondant or gum paste by making a well in the material, adding the colour and repeatedly folding the fondant over and over on itself until incorporated.
Buttercream
One of the best methods for tinting buttercream is adding a little of your food colour along with any extracts, essences or flavourings you need. This limits the amount of air bubbles you mix in.
Royal icing
We prefer to mix up big batches of plain or white royal icing, then tint whatever colours we need before adjusting consistencies and adding to piping bags.
9. Consider your materials and ingredients
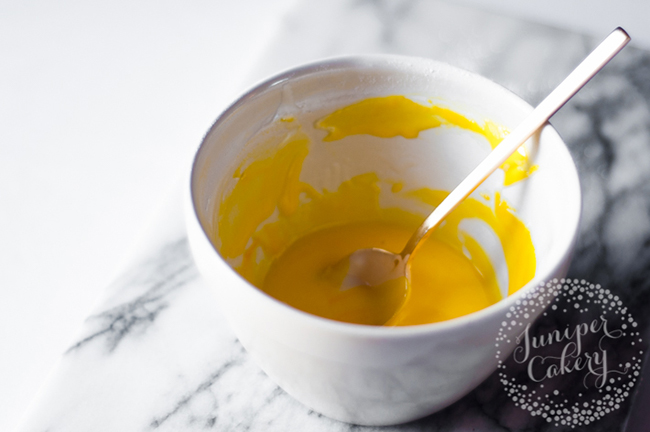
A lot of people ask why their batter or buttercream has gone more turquoise instead of blue or peach instead of pastel pink. One of the most important things to remember is the base colour of the material you’re working with.
For example, buttercream and batters usually have a natural yellow colour due to the butter in buttercream and the butter + eggs in the batter. So, if you add some blue, it will mix with the yellow and result in a slight green colour. You can avoid this by creating a white cream cheese– or Crisco-based frosting for fillings or coverings. For cakes and cupcakes, experiment with egg white batter to eliminate the orange egg yolks.
0 comments